Email marketing continues to be a powerful tool for businesses to connect with their audience. Gravity Forms, a popular WordPress plugin, simplifies the process of creating forms on your website. In this article, we'll guide you through integrating Gravity Forms with MailChimp, a leading email marketing service, using vanilla PHP. We'll demonstrate how to send newsletter subscription data to MailChimp using the wp_remote_post function. Let's get started!
Step 1: Set up your MailChimp Account:
If you haven't already, sign up for a MailChimp account at mailchimp.com. Once you're registered and logged in, create a new audience list to store your newsletter subscribers. Navigate to your API Keys page and create a new API key. Take note of your MailChimp API key, as we'll need it for the integration.
Step 2: Install and Configure Gravity Forms Plugin:
Ensure that you have Gravity Forms installed and activated on your WordPress site. If not, you can find the plugin at gravityforms.com. Configure your form with the necessary fields to collect the subscriber's name and email address. Make sure you use the Name field (this field splits the name into First and Last) and Email field in Gravity Forms.
Step 3: Retrieve MailChimp Audience ID:
To send subscription data to MailChimp, we need the Audience ID of the audience list you want to subscribe the form submissions to. Navigate to Audience > Audience dashboard > Manage audience > Settings > Audience name and defaults, and find the Audience ID on the right hand side.

Step 4: Implement PHP Code Snippet:
Now, let's implement a PHP code snippet that will capture the form submission data and send it to MailChimp using the wp_remote_post function. Insert the following code into your theme's functions.php file:
add_action('gform_after_submission_999', function($entry, $form) {

    $api_key = 'YOUR_MAILCHIMP_API_KEY';
    $list_id = 'YOUR_MAILCHIMP_LIST_ID';
    $dc_id = explode('-', $api_key, 2)[1];

    $data = [
        'status' => 'subscribed',
        'email_address' => $entry['2'],
        'merge_fields' => [
            'FNAME' => $entry['1.3'],
            'LNAME' => $entry['1.6'],
        ],
    ];

    $args = [
        'headers' => [
            'Content-Type' => 'application/json',
            'Authorization' => 'Basic ' . base64_encode('user:' . $api_key),
        ],
        'body' => json_encode($data),
        'timeout' => 7,
    ];

    $response = wp_remote_post("https://$dc_id.api.mailchimp.com/3.0/lists/$list_id/members", $args);

    // Uncomment the following line to debug the response
    // error_log(print_r($response, true));

}, 10, 2);
The PHP snippet above is assuming that the first field added to your form has the ID 1 and it's type is an Name field, and that the second field added to the form has an ID of 2 and it's type is an Email field; you can change these to the correct IDs in your form.
Make sure to replace
YOUR_MAILCHIMP_API_KEYwith your actual MailChimp API key andYOUR_MAILCHIMP_LIST_IDwith the ID of your desired audience list. Also, updategform_after_submission_999by changing999to your Gravity Form ID.
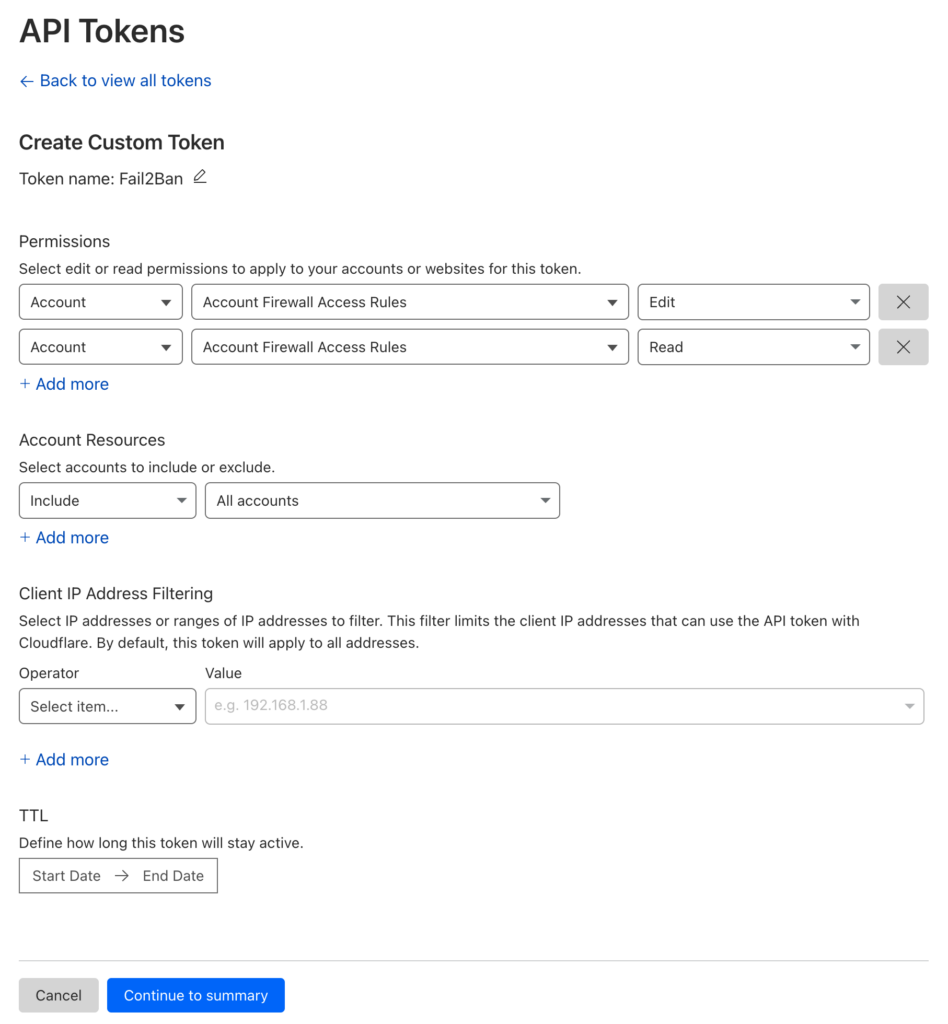
How do I create a Cloudflare API Token?
Step 5: Test the Integration:
Save the changes to your functions.php file and test the integration by submitting the Gravity Form on your website. The data should be sent to MailChimp, and you can verify it by checking your audience list in your MailChimp account.
By following the steps outlined in this article and utilizing the provided PHP code snippet, you can integrate Gravity Forms with MailChimp using vanilla PHP. This integration enables you to seamlessly collect newsletter subscriptions and streamline your email marketing efforts.
Let us know if you have any comments below!
Got Gravity Forms? You'll need Cloudflare Turnstile.
Protect your forms from those pesky spammers with our Cloudflare Turnstile plugin for Gravity Forms. A super lightweight plugin.